Create a connection
A connection describes how Xchange communicates with a connected system — over which address and with which credentials. That can be an external system with an HTTP API, or another SAP Business One company database. Every route is built on a connection; so before you can exchange data, you need at least one. This guide walks through creating one.
Like all configuration changes, a new connection first goes into the draft and only takes effect when the draft is activated.
What you need
- The connected system's credentials: its base address and — if it requires a sign-in — token endpoint, client ID and client secret. For another SAP Business One company database, the address of its Service Layer instead, plus the company database name, user name, and password.
- The Configuration — Connections permission at the Full level. With Read you see the page but cannot create or change anything.
Create the connection
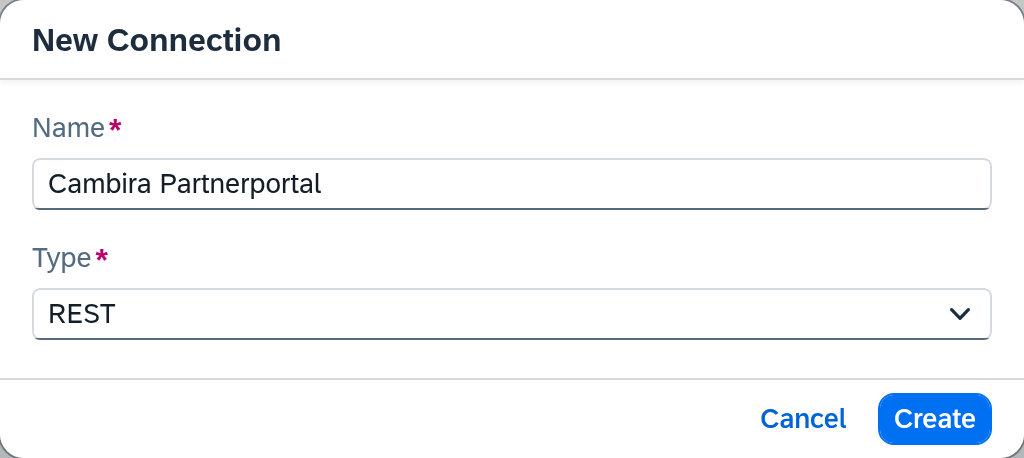
- Open the Connections page on the left and click New Connection (top right).
- Enter a Name — required, up to 150 characters, changeable at any time later.
- Choose the Type — REST for external systems with an HTTP API, or SAP Business One for another company database through its Service Layer. The type cannot be changed after creation.
- Create creates the connection and opens the detail view for further configuration.
Enter address and credentials
In the detail view you fill in the fields Xchange needs for the connection:
- Base address — the address of the connected system, without path or parameters, e.g.
https://api.example.com/v2. Every route endpoint path is resolved relative to it. For the SAP Business One type, enter the address of the Service Layer here. - Authentication — how Xchange signs in to the connected system. Which methods are available follows from the type:
- No authentication — open connection without credentials.
- OAuth 2.0 — token-based. Xchange fetches an access token on its own and refreshes it automatically before it expires. For this you enter the token endpoint, client ID, and client secret. The secret is stored encrypted and is not shown in clear text afterwards.
- Service Layer login — the only method for the SAP Business One type. For this you enter the company database, user name, and password. The company database name is case-sensitive; the database the Xchange service itself works with cannot be entered here.
Your entries are captured automatically in the current draft — the timestamp of the last save is shown in the footer.
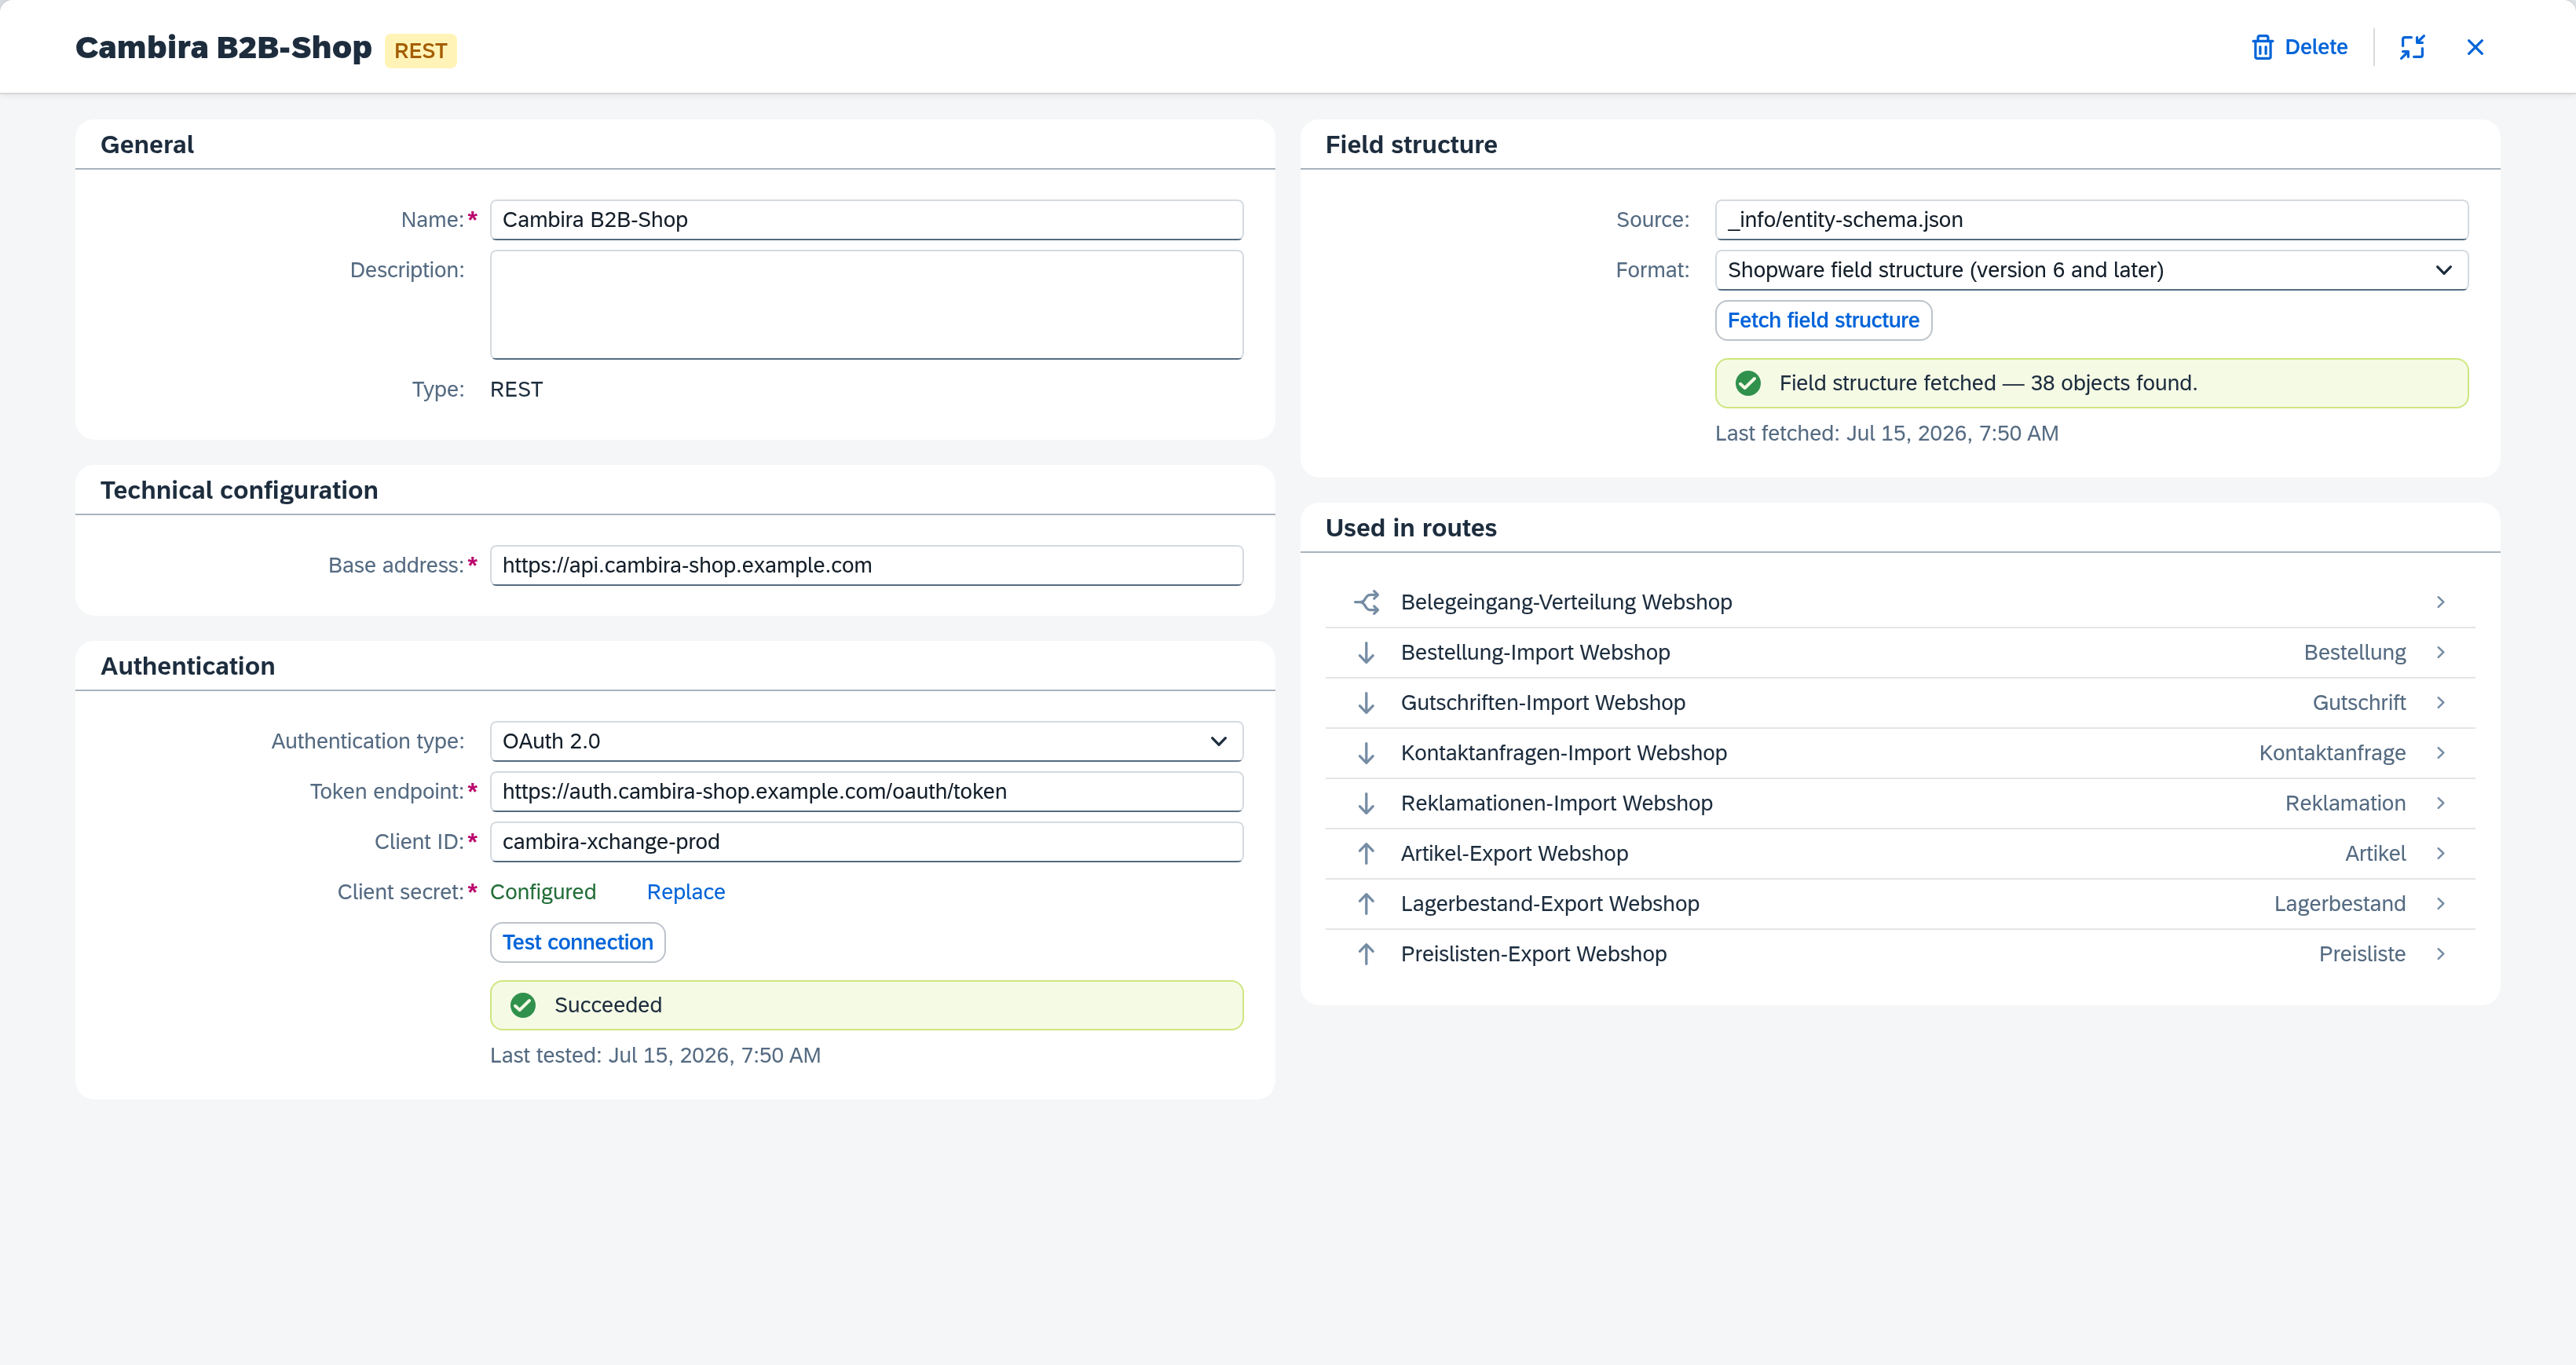
The connection is ready to use at this point. Two sections on the right are filled in only when you need them: Field structure, if the connected system publishes its data model, and — with type REST — Fetch result structure, if it wraps its records differently than Xchange assumes. Both are optional; without an entry the defaults apply. The full field reference is in the Connections reference.
Test the connection
Test connection lets you check at any time whether Xchange can reach the connected system and authenticate successfully. Xchange saves any pending changes before the test; if an entry the test needs is missing, a notice naming the fields concerned appears instead. The result and the timestamp of the last test appear right below it.
For the SAP Business One type, Xchange actually logs in to the company database you entered and names the company held there in the result — so you can see immediately whether you picked the right one.
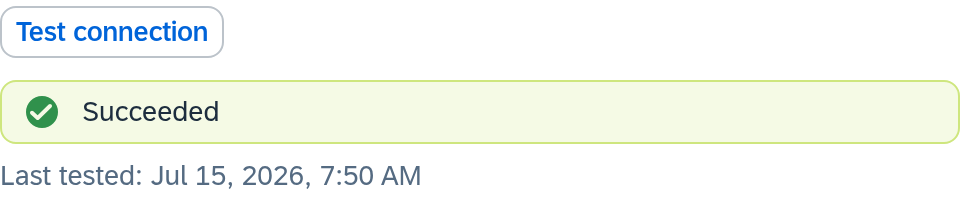
A failed test blocks neither the save nor the activation — so you can save the connection even when the target system is currently unreachable. The draft check does, however, report a connection that has never been tested or whose last test failed, and a successful test clears that finding.
What comes next
- To make the connection go live, activate the draft: Activating configuration changes.
- Then you can build a route on top of it: Create a route.